Fixing a Flat Tire on the Tern GSD S10
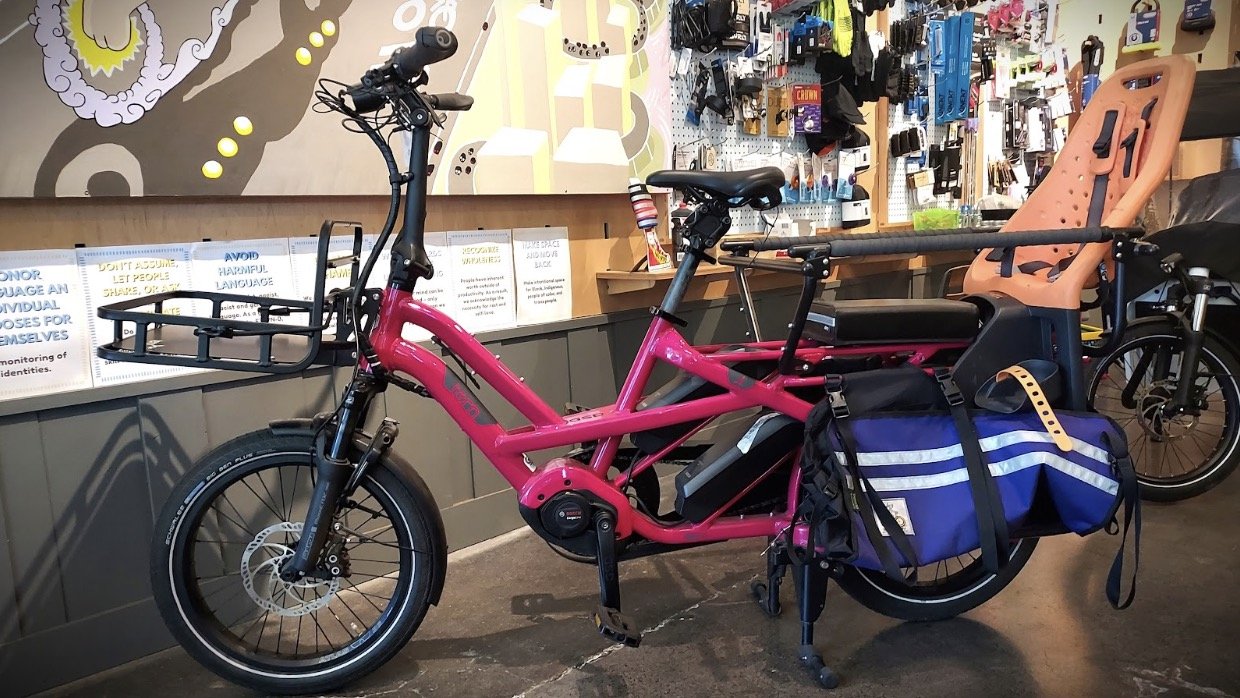
Whether you are a new or experienced home bike mechanic, fixing a flat tire on a Tern GSD S10 is a bit more complicated than many non-electric and non-cargo bikes.
A nice thing about the GSD is it fits inside many cars with the backseat pushed down, so many riders’ flat-tire plan is just to phone-a-friend. This is such a valuable feature that many similarly- or even more capable bikes lack! But if you’d like to be more self-sufficient when it comes to your bike repairs, we have written up some instructions for setting your GSD S10 up for a flat fix.
But first, let’s briefly run through some considerations for reducing the likelihood of getting a flat in the first place:
Flat Prevention Tips
Here are some tips to prevent flats from happening in the first place and to be prepared for flats when they do occur:
Do some research in advance: it’s nice to know what shops are in your regular circuit, and which ones can work on your bicycle. Many shops have limitations on the extent to which they can take in walk-ins, especially on electric and oversized bicycles. We can certainly repair your flat for you, but that may not be the best option if you are far from Greenwood, and we usually can’t fix a flat while you wait.
Inflate your tires regularly: Running below the minimum recommended pressure means you are more susceptible to “pinch flats”, where the rim actually punches staple-like holes in the tube when running over a sharp edge like the curb, a speed bump, or pothole. GSD tires have a minimum pressure of 30 psi and a maximum pressure of 55 psi. It’s a good idea to check your tire pressure weekly if you’re riding regularly. For auxiliary material on this topic, Tern has a nice article on tire pressure as well.
Keep your tires fresh: Inspect your tires regularly and replace them before the tread begins to wear too thin, looks “squared,” or shows a colored strip in the middle. Check the sidewall for bulges, cuts, or looking threadbare. Many riders replace their tires at a regular tuneup to avoid getting stranded later. GSDs come with durable Schwalbe tires that already offer additional flat protection, but some riders still want more, and that’s where we can…
Install Slime or tire liners: Our favorite anti-flat solutions for GSDs (and many other cargo bikes) are:
Slime: Tubeless tires with sealant are popular for mountain bikers, but for cargo bikes, we recommend adding Slime sealant inside the tube. Slime sealant stays semi-liquid inside the tube until a puncture occurs, and for small punctures, it can form a seal over the hole.
Tire liners: We have had great results with Tannus tire liners on our GSD loaner bike and on many customers’ GSDs. Tannus liners surround the tube with a thick foamy layer of puncture protection. In addition, Tannus liners help the tire retain its shape in the unlikely event the tube does get punctured. With that added support, it can be easier to simply roll a flat tire GSD home or to a shop.
How to Fix a Flat on the GSD S10 - Model by model
Ultimately, there is no way to 100% avoid flats. We’ve seen nails, industrial staples, other big pieces of metal that no tire liners or extremely flat-resistant tires can withstand 100% of the time, so we recommend planning in advance for if/when it happens.
If you think you might be repairing a flat on the side of the road or at home, there are some tools and parts you’re going to want to have on hand to be ready. We are happy to help outfit you with what you need, but we’ve provided a list of tools as well as step-by-step instructions broken down by model.
We’ve broken the instructions up by generation. Which generation is your bike? If your bike has a rigid fork, it is a generation 1. If it has a suspension fork, it is a generation 2, and scroll down farther to instructions specific to the second generation. You can also check using your serial number on Tern’s website. If you are unsure, feel free to reach out and we can help you figure it out!
Setting Up to Fix a Flat
One of the challenges with fixing a flat on the GSD S10 is orienting the bike in such a way that you can access everything.
Tern recommends standing your GSD up on its four rear feet for minor services. (Note that a GSD with a Yepp seat in the rear position, a Clubhouse+ installed with the curved bar at the rear, or a Passenger Rail with any rear bar, cannot be stood up on its rear feet without removing those parts.) This position can be precarious for the bike and for the repairer. Have another person hold the bike steady, or use a bungee cord or rope to tightly secure the standing bike to a fence, signpost, wall hook, or other stationary object. Regardless of how you secure the bike, be aware of its potential to fall, and the movement of the front wheel and handlebars as you work.
Second best option is to try to make do while the bike sits on the kickstand, but you’ll also need a buddy to help lift the bike up to get the wheel fully clear of the frame. In a pinch, you can also lean a GSD S10 onto its right/drive side (with the left/non-drive side facing up), but Gen 1 GSD S10s without the Lower Decks accessory may be at risk of knocking the rear derailleur out of alignment. This position also makes it harder to access both wheels and see wheel alignment relative to the brakes and derailleur.
GSD Gen1 S10 | REAR WHEEL
Tools
6mm L allen key (to remove rear thru axle)
2 tire levers
new tube (20 x 2.1-2.4 Schrader)
pump for Schrader valve
2 Magura brake blocks, optional
torque wrench for 6mm allen, optional (for reinstalling thru axle)
Removing the rear wheel
Turn the electrical system off.
Shift into gear 10 while rotating the pedal cranks.
Push the derailleur clutch (typically, a small gray lever on the main body of the derailleur) into its Off (forward) position.
Stand the bike up and secure it, or lean it onto its right/drive side as described above.
Find the thru axle. Look at the right side (or ideally both sides if accessible) and note how far the axle is tightened into the frame for reference at reinstallation.
Use a 6mm L allen key to remove the thru axle from the non-drive (left) side of the bicycle. Only about an inch of it is threaded, so at some point you will be able to simply pull it all the way out. Set aside for safe keeping.
Remove the wheel, pulling the derailleur back/down and out of the way. Keep the wheel relatively straight as you pull it out, until the rotor makes it out of the brake caliper entirely.
Install clean Magura brake spacers between the brake pads to avoid accidentally overextending pistons. If you don’t have Magura spacers, you can use clean cardboard or just take special care to avoid squeezing the brake levers until the wheel is reinstalled.
Repair the flat according to typical flat repair procedures. If you need a refresher on that, check out the instructions from Park Tool here.
Reinstalling the rear wheel
Remove pad spacers, if installed.
Line chain up over the smallest cog with one section of the chain above and the other section below the cog.
Align the rotor to go into the space between the pads in the brake caliper, then push the wheel all the way into the dropouts.
Install thru axle from the left side. When it has slid most of the way in, turn it to the right; it will start to thread into the right side of the frame.
Torque thru axle to 10Nm. If you do not have a torque wrench, 10Nm is fairly tight if are using a multitool, but don’t apply body weight force to the wrench. A torque that is too loose or too tight can affect the brake alignment. Generally a slightly-off brake adjustment is still fine to ride home on, as long as the wheel can turn and isn’t making any grinding noise. Plan to do another brake adjustment at home, or take your bike to a shop if you hear or see the rotor rubbing the pads when the brakes aren’t in use.
Move the derailleur clutch into the On (backward) position.
GSD Gen1 S10 | FRONT WHEEL
Tools
2 tire levers
new tube (20 x 2.1-2.4 Schrader)
pump for Schrader valve
2 Magura brake blocks, optional
NOTE: The front wheel on the first generation GSD (all models) has a different sort of thru axle than the second generation.
Removing the front wheel
Open the lever for the thru axle. Hold the nut on the other side while turning the thru axle counterclockwise by its lever. Remove thru axle entirely and temporarily re-attach nut; set aside for safe keeping.
Install clean Magura brake spacers between the brake pads to avoid accidentally overextending pistons. If you don’t have Magura spacers, you can use clean cardboard or just take special care to avoid squeezing the brake levers until the wheel is reinstalled.
Repair the flat according to typical flat repair procedures
Reinstalling the front wheel
Remove pad spacers, if installed.
Making sure the rotor is aligned to go into the space between the pads in the brake caliper, push wheel into the dropouts. It may be easier to let some air out of the tire if you have difficulty pushing the tire past the cafe lock.
Reinstall thru axle with the lever on the rider’s right side. Tighten the nut most of the way onto the thru axle.
Close the lever of the thru axle as you would a typical Quick Release (QR) lever: it should be hard but not impossible to push it the last 90 degrees closed. Once closed, test if you can still spin it. If you can turn the lever without excessive force, it should be tighter. Open it again, tighten the nut a little more, and repeat until it cannot be spun while closed without excessive force.
Inflate tire fully to desired pressure (generally 40-55psi)
Test brake rub. A torque that is too loose or too tight can affect the brake alignment - it’s still fine to ride home on, as long as the wheel can turn and isn’t making any grinding noise. Plan to do another brake adjustment at home, or take your bike to a shop if you hear or see the rotor rubbing the pads when the brakes aren’t in use.
Thru axle with the quick-release style lever.
Instructions from the original Tern GSD owner’s manual on removing the front wheel.
GSD Gen2 S10 & S10LX | REAR WHEEL
Removing the rear wheel on the Generation 2 GSD S10 (Schoolbus Yellow and Dragonfruit, and some Grey and Black as well) may require more tools than the other designs. The original design of the Wide Deck accessory rails can interfere with removal of the thru axle. In such cases, the left Wide Deck rail must be loosened or removed first.
Left: Tools required for the GSD S10 Gen2 with wide decks. Right: Extra tools required to remove the wide decks. If you do not have wide decks installed, or yours has enough clearance they do not need to be removed, then these tools are not required.
Tools
6mm L allen key (to remove thru axle)
deep 13mm socket and driver (to remove/install left Wide Deck, if applicable)
5mm L allen key (to remove/install left Wide Deck, if applicable)
2 tire levers
new tube (20 x 2.1-2.4 Schrader)
pump for Schrader valve
2 Magura brake blocks, optional
torque wrench for 6mm allen (optional, for reinstalling thru axle)
REMOVING THE REAR WHEEL
Turn the electrical system off.
Follow Steps 2-10 of the removal procedure for the Generation 1 GSD S10 rear wheel. If the thru axle cannot be removed because it runs into the left Wide Deck, you may need to remove the deck rail. To do so,, loosen or remove the three bolts of the left Wide Deck rail so that the thru axle can be unscrewed and pulled freely from the left side of the bike.
Follow the reinstallation procedure for the Generation 1 GSD S10 rear wheel.
Reinstall the left Wide Deck rail. Tighten bolts
Wide Deck interference that prevents the removal of the thru axle. If you run into this, the wide deck must be either loosened or fully removed in order to remove the wheel.
The three bolts affixing the wide deck, which take a 5mm hex and a 13mm socket on the back to loosen/tighten.
GSD Gen2 S10 & S10LX | Front Wheel
Tools - same as for Gen1 S10 rear
6mm L allen key (to remove thru axle)
2 tire levers
new tube (20 x 2.1-2.4 Schrader)
pump for Schrader valve
2 Magura brake blocks, optional
torque wrench for 6mm allen (optional, for reinstalling thru axle)
Removing the front wheel
Use the 6mm allen key to unscrew the thru axle from the right side of the wheel. Remove the thru axle entirely and set aside for safe keeping.
Install clean Magura brake spacers between the brake pads to avoid accidentally overextending pistons. If you don’t have Magura spacers, you can use clean cardboard or just take special care to avoid squeezing the brake levers until the wheel is reinstalled.
Repair the flat according to typical flat repair procedures.
Reinstalling the front wheel
Remove pad spacers, if installed.
Push wheel into dropouts such that the rotor slips into the brake caliper between the pads. It may be easier to not have the wheel fully inflated yet if you have a cafe lock that is a tight fit.
Reinstall thru axle with the threaded end going into the threaded left side of the dropout. Tighten to 8-10 Nm - fairly tight if using a multitool, but don’t apply body weight force to the wrench.
Inflate tire fully, if applicable (generally 40-55psi).
Test for brake rub. A torque that is too loose or too tight can affect the brake alignment - it’s still fine to ride home on, as long as the wheel can turn and isn’t making any grinding noise. Plan to do another brake adjustment at home, or take your bike to a shop if you hear or see the rotor rubbing the pads when the brakes aren’t in use.
Fixing a Flat on Other GSD Models
The front wheel of other GSD models can be removed and installed according to the instructions above, depending on which generation of GSD it is.
Fixing a flat on the rear wheel of S00 and R14 bikes is much more challenging because there are several more steps to safely remove and install the wheel. You need to disconnect the hubs from their shift cables/wire to remove the wheels, and align several different components during installation. Unfortunately, it’s complicated enough that we don’t think we can really explain it adequately with just text and photos. It takes our mechanics some practice and time to juggle all the parts successfully.
If you have an S00 or R14 and are prone to getting flats (or just want to protect your bike a little more), consider adding Slime or Tannus tire liners to your rear wheel or to both wheels. If you want to learn more about removing the rear wheel on your bicycle, give us a call or send us an email and we can chat!
Do you have any other resources you have found helpful? Send them our way so we can share them!
We’re Here to Help You Prevent and Fix Flats
Our service department is knowledgeable about flat fixes and flat prevention on all kinds of electric and cargo bikes. Please see our service department page to make an appointment or give us a call or email. We hope to see you soon!